Shelly Shirt for Girls – Free Crochet Pattern
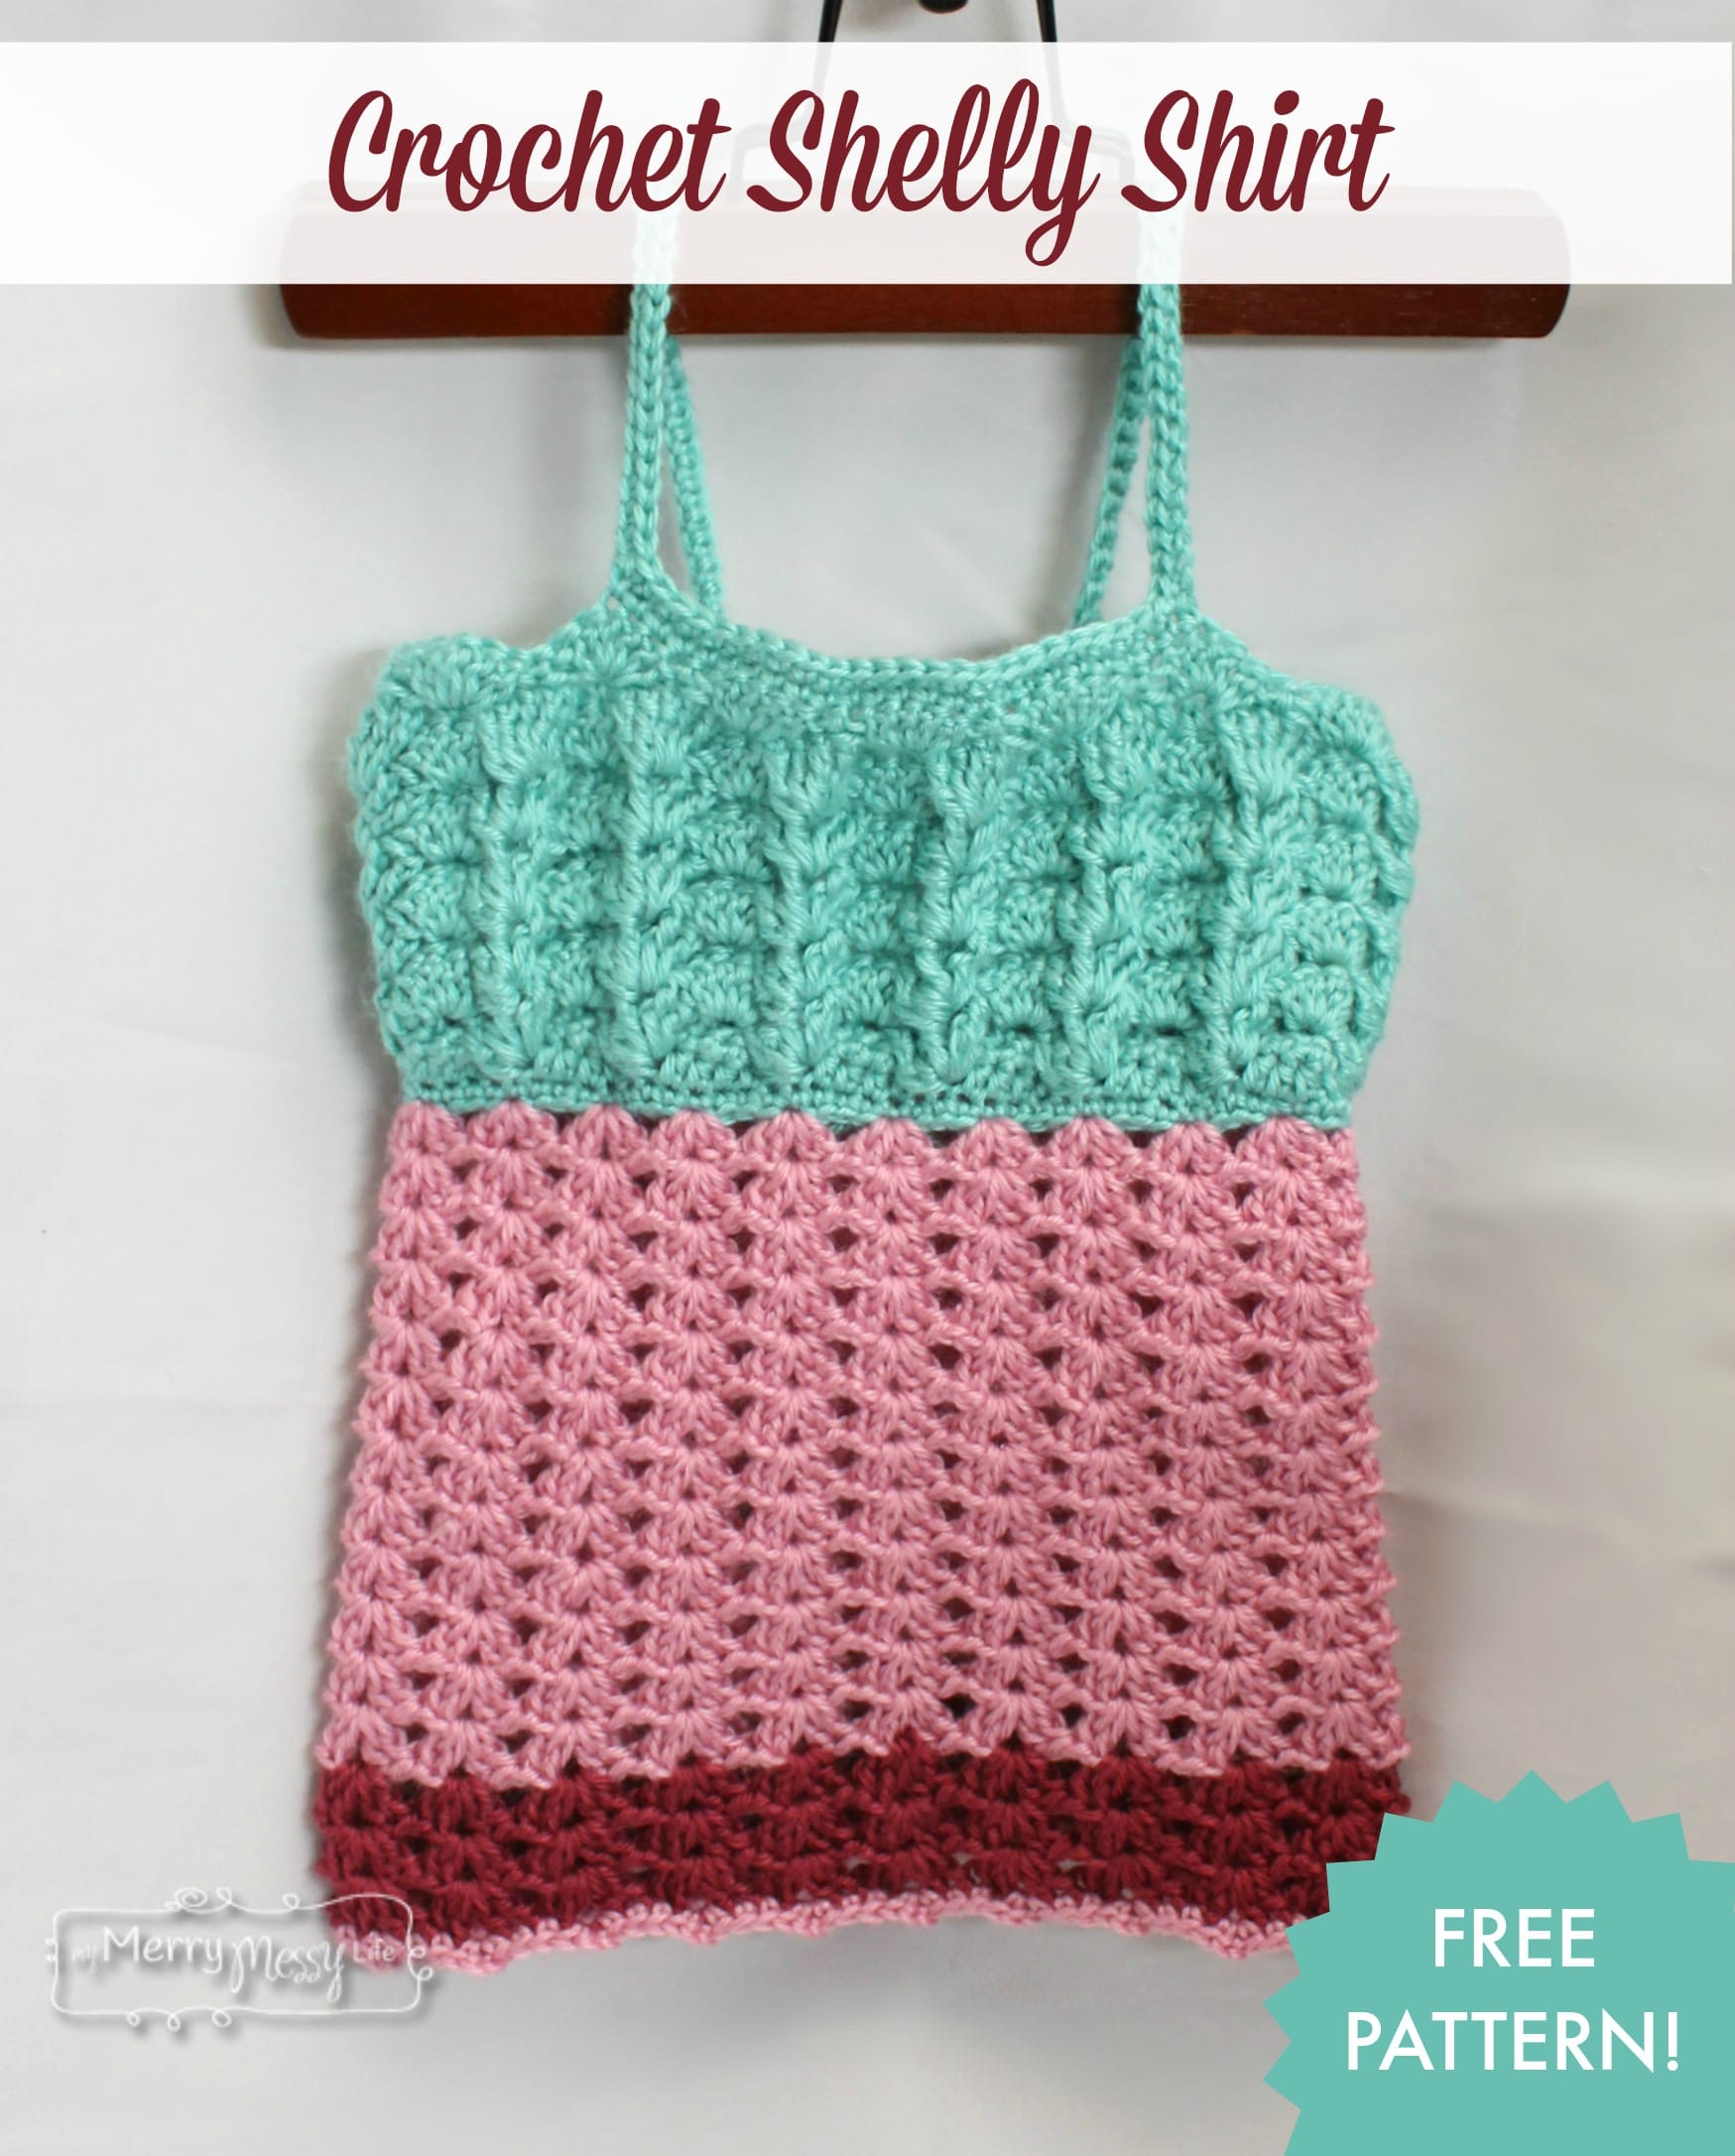
Here's a precious top for the little girls in your life, using three different types of crochet shell stitches to complete the look. It has a light and airy feel that would be great for spring and summer and you can make it with this free crochet pattern!

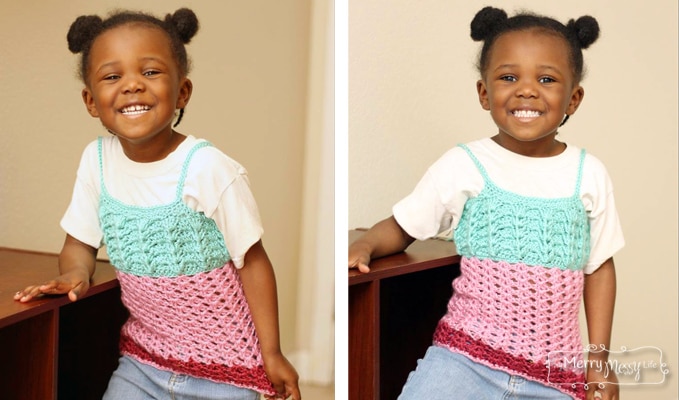
I made this little number for my third oldest child. I am almost positive that she would wear it everyday if she could! She picked out the colors and called it the “Mermaid Princess” shirt. That is actually what she wants to be when she grows up. Lili is quite the character! She wears this with a white shirt and a pair of jeans.
It could have easily been made in a single color, but I used 3 different colors to show a way that different colors could be combined.
This pattern is considered intermediate. It uses post stitches. If you have not tried them yet, then you'd probably want to become more familiar with them before starting this project. Once you have gotten the hang of them, this shirt should be a breeze for you to complete!
Crochet Shelly Shirt – Free Crochet Pattern by Stacey Williams
Materials:
- Worsted Weight Yarn (3 colors)
- Yarn Needle
- Size I 5.5 mm hook
- Ribbon
Abbreviations:
- Sl st- Slip Stitch
- Ch- Chain
- Sc- Single Crochet
- Dc- Double Crochet
- FpTc- Front Post Treble Crochet – Yarn over twice, insert the hook from front to back around the stitch from the previous row, yarn over, pull up a loop, yarn over, pull through 2 loops, yarn over, pull through 2 loops, yarn over, pull through 2 loops.
Gauge Swatch
To ensure that your gauge is the same as mine in this pattern, start with this swatch. It measures 2in x 2in.
- Ch 12
- Ch 1, sc into each stitch. Turn
- Ch 1, sc into the next stitch, skip 2 stitches, 5 fptr around the sc from the row below, skip 2 stitches, sc into the next stitch, skip 2 stitches, 5 fptr around the sc from the previous row, skip 2 stitches, sc into the last stitch. Turn
- Ch 3, 2 dc into the same stitch, skip 2 stitches, sc into the next stitch, skip 2 stitches, 5 dc into the next stitch, skip 2 stitches, sc into the next stitch, skip 2 stitches, 3 dc into the last space. Turn

Sizes [12 months,2 years,4 years, 6 years]
Top of the shirt
- Ch [73, 85, 97, 109] Join with a sl st. Avoid twisting the chain when joining.
- Ch 1, Sc into each chain. Join with a sl st in the ch 1.
- Ch 2, hdc into each stitch. Turn (You will not join this row with the beginning.)
- Ch 1, sc into the next stitch, “skip 2 stitches, 5 fptr around the sc from the row below, skip 2 stitches, sc into the next stitch” Repeat “” to the end. Turn
- Ch 3, 2 dc into the same stitch, skip 2 stitches, sc into the next stitch, skip 2 stitches, “5 dc into the next stitch, skip 2 stitches, sc into the next stitch, skip 2 stitches” Repeat “” to the end, 3 dc into the last space. Turn
- Repeat rows 4 & 5 [4, 6, 8, 10 times]
- Ch [32, 38, 44, 50], skip [23, 26, 29, 32] stitches, sc into the next [25 stitches, ch [32, 38, 44, 50], sl st into the last stitch.
- Ch 1, sc into each chain and stitch.
- Tie off
- Change Colors
- Turn the piece upside down and join in row 1 to start the bottom of the shirt.
- Ch 3, 2 dc into the same stitch, “skip 3 stitches, {2dc, ch 1, 2dc} into the next stitch” Repeat “” to the end, dc into the last stitch. Join with a sl st into the ch 3.
- Ch 3, 2 dc into the same stitch, “skip 4 stitches, {2dc, ch 1, 2dc} into the next stitch” Repeat “” to the end, dc into the last stitch. Join with a sl st into the ch 3.
- Repeat row 13 [10, 13, 16, 19]
- Change Colors
- Repeat row 13 [3, 4, 5, 6]
- Change Colors
- Ch 1, sc into each stitch. Tie off. Weave in the ends.
- Lace the ribbon on the back side of the shirt and tie a bow.
Done! Merry Crocheting!
[optin-monster slug=”xs2yggdkacqf5ww9fqqm”]

Hi Stacey, I have a quick question, on #7 of the top of the shirt, you only have a total of 48 stitches (I’m doing 12 mos) but we start off with 73 stitches what are we doing with the other 25 stitches. I have taken this out 2 times because I thought that I’m doing something wrong. Before I start it for the 3rd time, I figured I’d better contact you to figure out what I am doing wrong lol
I would say #7 are your straps