Crochet Seed Stitch Tutorial { free crochet tutorial }
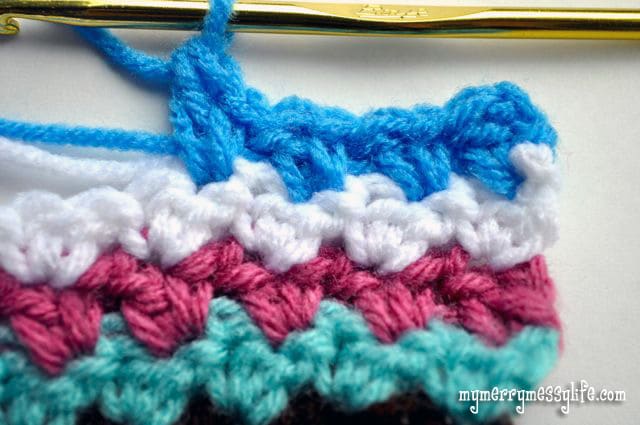
The seed stitch is such an easy stitch and it makes a tight, strong weave that is excellent for warm afghans and scarves, bags, purses, and any project that will be load bearing. I have used it for many of my projects here on this site and I just love the texture and pattern it creates, especially when you change colors!
To Start
Make a chain of any odd number. Then, in the second chain from your hook, work a single, then a double crochet in the SAME stitch. Skip the next stitch and repeat – 1 single crochet, 1 double crochet in the same stitch. That's the easy part! It gets slightly more complicated once you get to the second row.
To Add New Rows & Change Colors
Join a new color with a slip stitch and a chain 2 and work 1 double crochet in the top of the double crochet below (same space as your slip stitch). (Double crochet is not shown in the picture below).
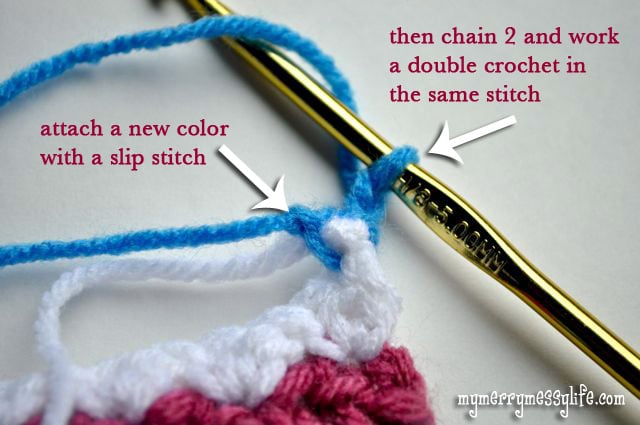
For all rows after row 1, you work a seed stitch (1 single crochet, 1 double crochet) in the top of the previous row's double crochets. Insert your hook into the top two loops of the double crochet and it will make a beautiful stitch!
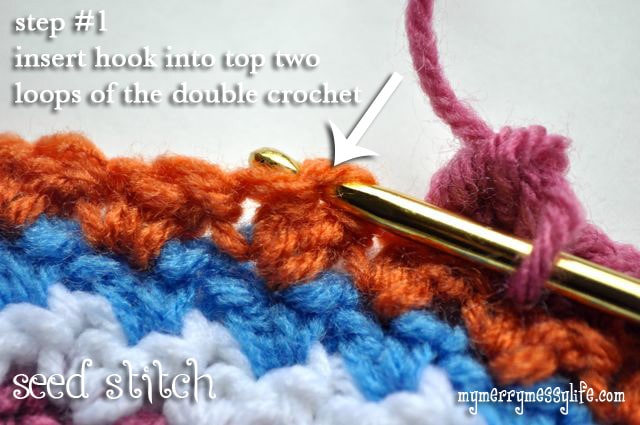
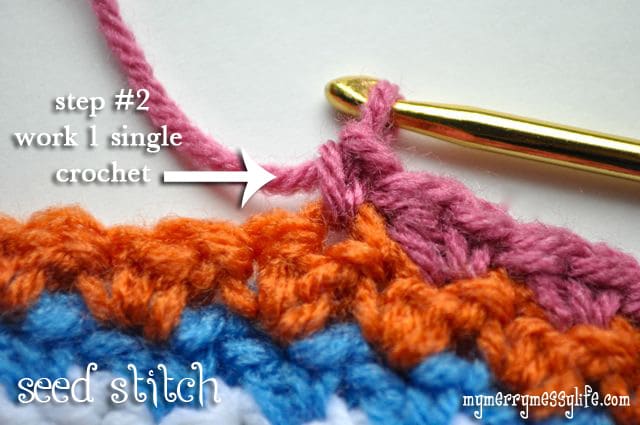
Lastly, work a double crochet next to the single crochet in the SAME stitch. That's it!
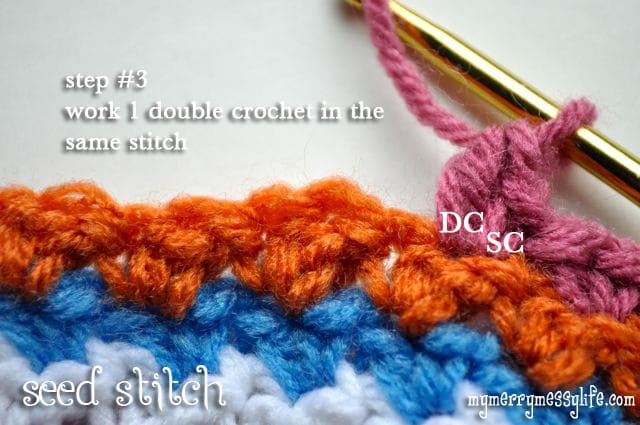
Your row should end with a seed stitch, like the very first picture shows. Each row will make a bulge out, making a scallop on the edges, so your edges will NOT be straight. It took me forever to figure this out and I thought I had it all wrong!
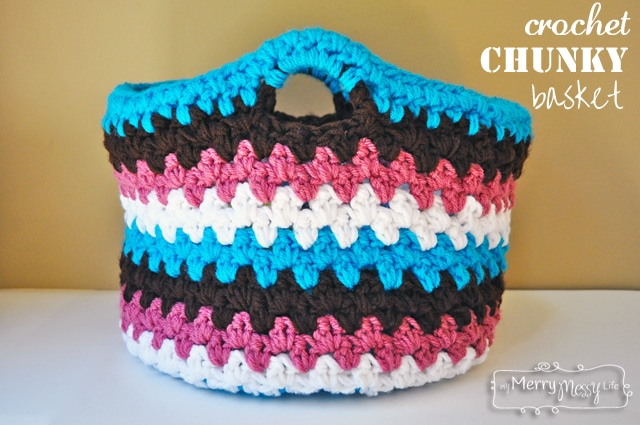
Here are some of my patterns that use the seed stitch:
|
|
 |
[optin-monster slug=”xs2yggdkacqf5ww9fqqm”]


Thank you for the free pattern, easy to follow
You’re welcome, Jean!
Thank you for the free pattern, easy to follow. Great ideas for my project
You’re welcome! Thanks for stopping by and leaving a nice comment, Jean!
Seed stitch is awesome
I quite agree! 🙂