Halloween Crochet Wreath Tutorial
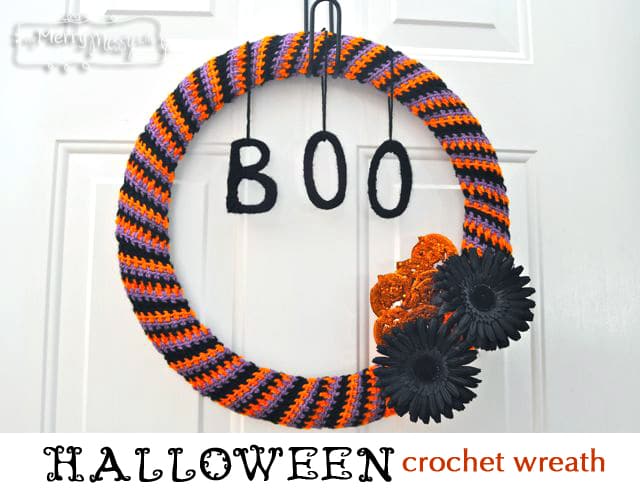
We are enjoying our crochet Halloween wreath as it greets us and reminds us that trick-or-treating, fun costumes, and candy are just around the corner! This was super simple to make!
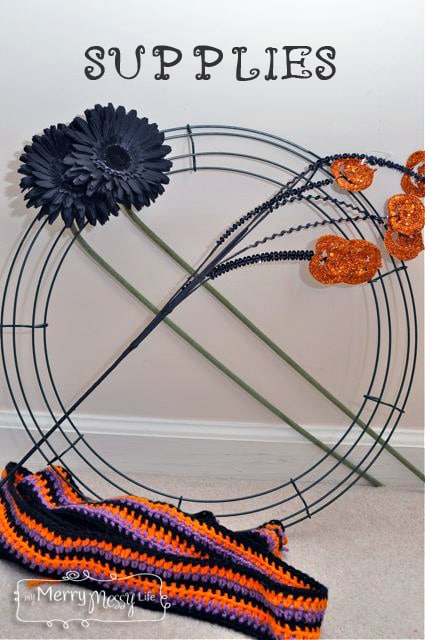
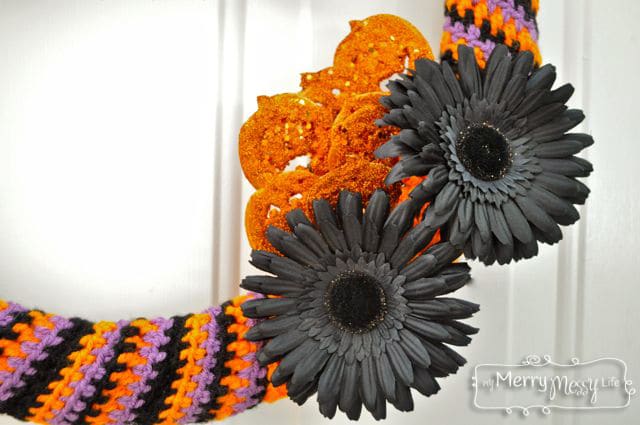
First, I bought an 18-inch wire wreath frame, 2 black flowers and some pumpkin decorations from the floral section, all from Michael's.
Then, I started crocheting a ribbon to be able to wrap it around the frame. The frame has a nice curve to it, which is why I chose it.
Crochet Ribbon Pattern
Now, depending on your gauge and style, your ribbon might be longer or shorter than you need. If it's just a little too short, you can unwind it then rewind it tighter. If it's too long, wind it more loosely, then tuck in the extra on the back.
Yarn: Worsted Weight in black, purple and orange
Hook: H
Chain 130 with the black yarn.
Row 1: In the 2nd chain from the hook, work 1 half double crochet. Work 1 half double crochet in each stitch all the way down. Fasten off.
Row 2: Attach purple to then end of the previous chain with a slip stitch and a chain 1. Work 1 hdc in each stitch all the way down.
Rows 3-7: Work exactly like row two, changing colors in each row. (orange, black, purple, orange, black).
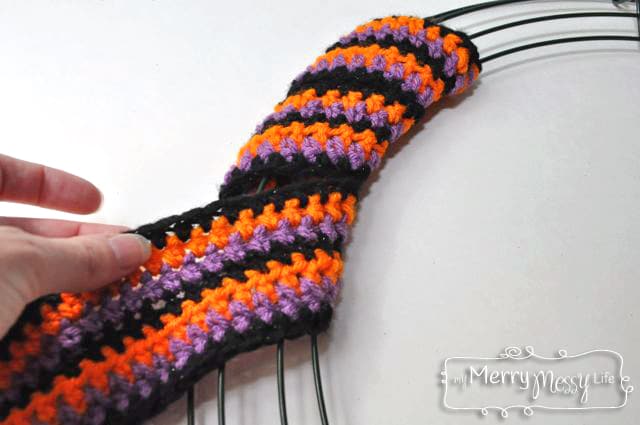
Then, you'll take the ribbon and wrap it around the frame like the picture demonstrates.
You'll then need some wire cutters to cut off the flower stems. Stick them into the stitches so it's nice and secure. Then, take the pumpkins or other decorations and fill in above the flowers. Now, it's secure enough to hang on the door, but when I go to store it, I do think the decorations will fall off. However, I prefer it this way because then I can make sure the flowers won't get squished.
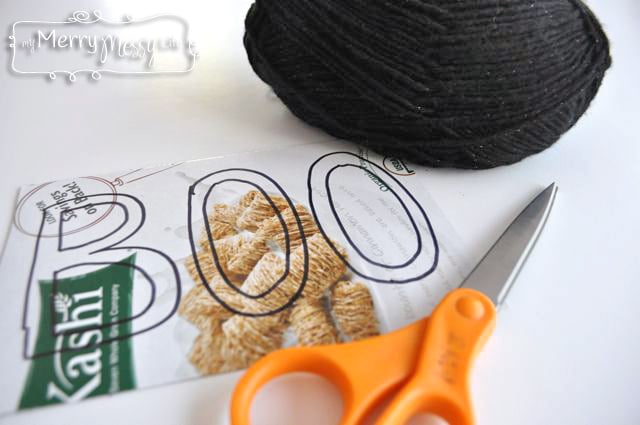
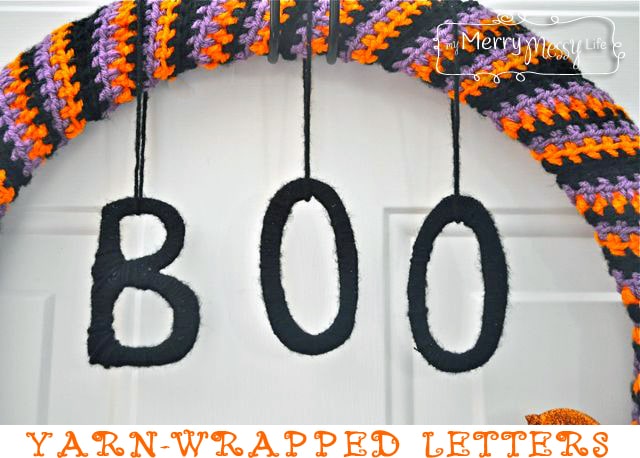
To make the letters, I took a cereal box and drew letters onto it and cut them out. If you don't trust yourself to draw the letters (smile), just print them out on a piece of paper, cut them out and trace them onto cardboard.
Then, cut off a bunch of yarn and form it into a small ball, then start wrapping the letters with the yarn. This is the tedious part! I made the mistake of not making a ball out of the yarn and spent most of my time untangling it as a wrapped it. Here's a good yarn wrapping tutorial that I used from Evie S! It looks better when you wrap the letters several times, and I found the only way I could tolerate the tediousness of it was to watch TV at the same time. Otherwise, you might go batty! The letters do look fuzzy and a little wonky, but I was going for that look for Halloween.
This post is being shared at: A Pinteresting Party at Tutus and Tea Parties
[optin-monster slug=”xs2yggdkacqf5ww9fqqm”]
How wide is the strip and how did you secure the ends. I love the pattern and I did it in the American Flag colors (red, white & blue). Thank you for a great pattern.